If you’re ready to craft with Cricut Design Space SVGs, this beginner’s guide will help you every step of the way. SVGs are the most powerful and versatile files for Cricut projects, whether you’re creating T-shirts, greeting cards, stickers, or home décor. Once you understand how SVGs work, you’ll unlock endless creative possibilities.
An SVG is a Vector File?
First, let’s define SVG. The term stands for Scalable Vector Graphics. Unlike pixel-based JPGs or PNGs, SVG files are built from clean, scalable shapes. This means they can be resized infinitely without losing quality.
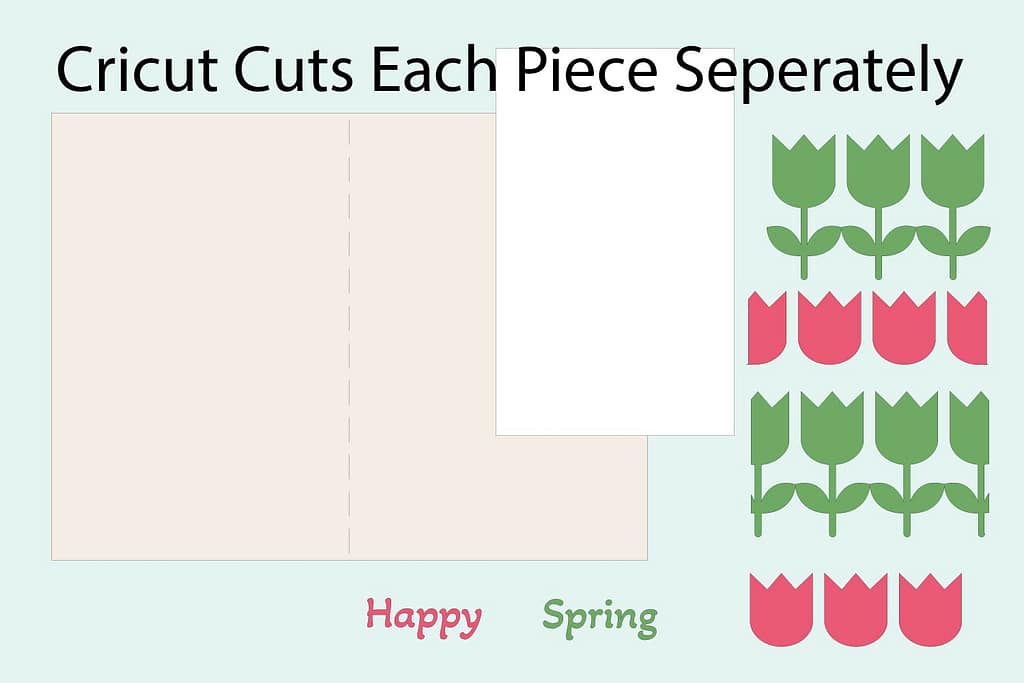
Even better, many SVGs are layered, allowing you to cut different colors or elements separately. Because they tell your Cricut exactly where to cut, SVGs are the ideal file type for precise crafting.
Where to Find SVG Files
Next, let’s explore where you can get SVG files for your projects. You’ll find them on Etsy shops, design marketplaces, and even freebie libraries (like mine). They are available everywhere. When choosing, look for designs labeled “cut-ready” or made specifically for Cricut or Silhouette users.
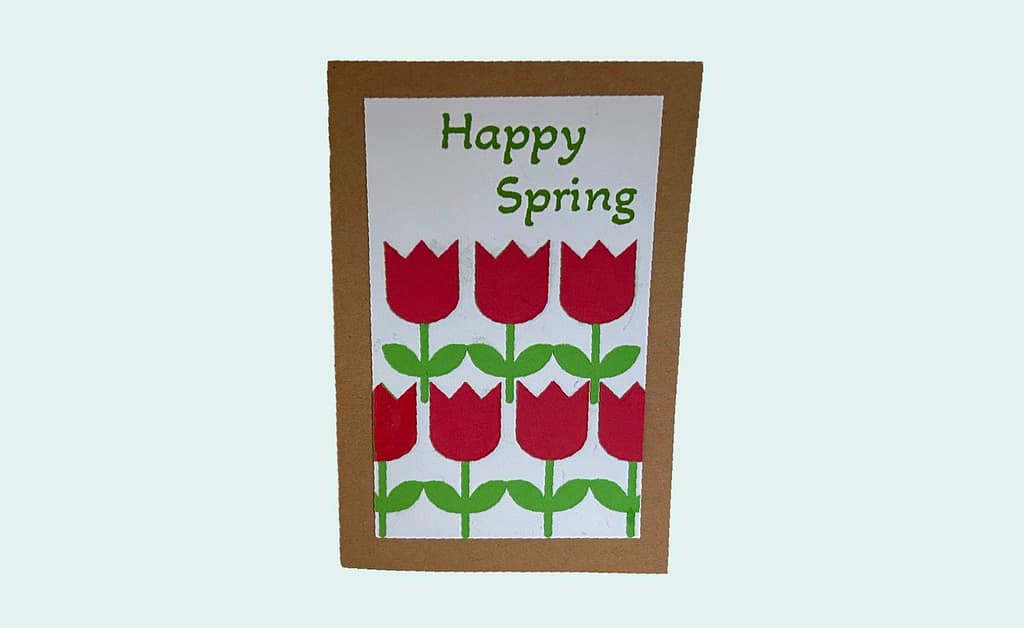
Want a quick win? Join my Freebie Library today for instant access to a curated set of SVGs you can test right away. The Happy Spring card that I am using to demonstrate is one of the items available in the Freebie Library.
Step 1: Download and Save Your SVG
After finding a design you love, download it to your computer. SVGs sometimes come in a ZIP folder, if that is the case you will need to upzip the file.
- Download the ZIP file.
- Extract the files (Windows: right-click → “Extract All” | Mac: double-click).
- Locate the file ending in .svg — that’s the one you’ll upload.
Step 2: Upload to Cricut Design Space
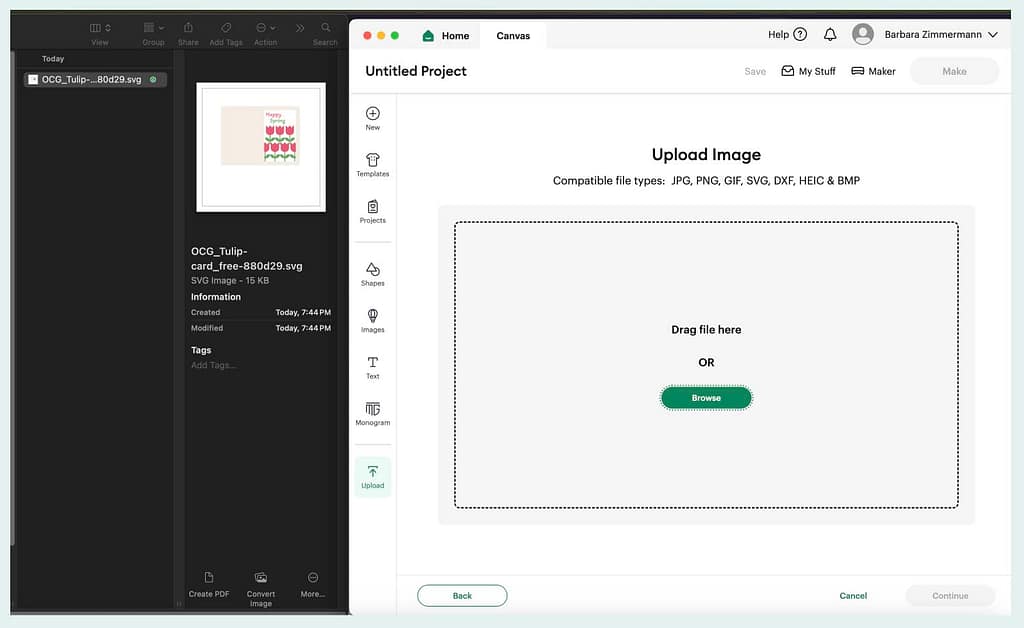
Then, open Cricut Design Space and prepare to upload.
- Click Upload in the left menu.
- Choose Upload Image → Browse.
- Select your SVG file.
- Once you see it has been uploaded, hit continue.
- Name and tag the file for easy searching later.
- Upload and insert it into your canvas.
Now your design is ready to adjust.
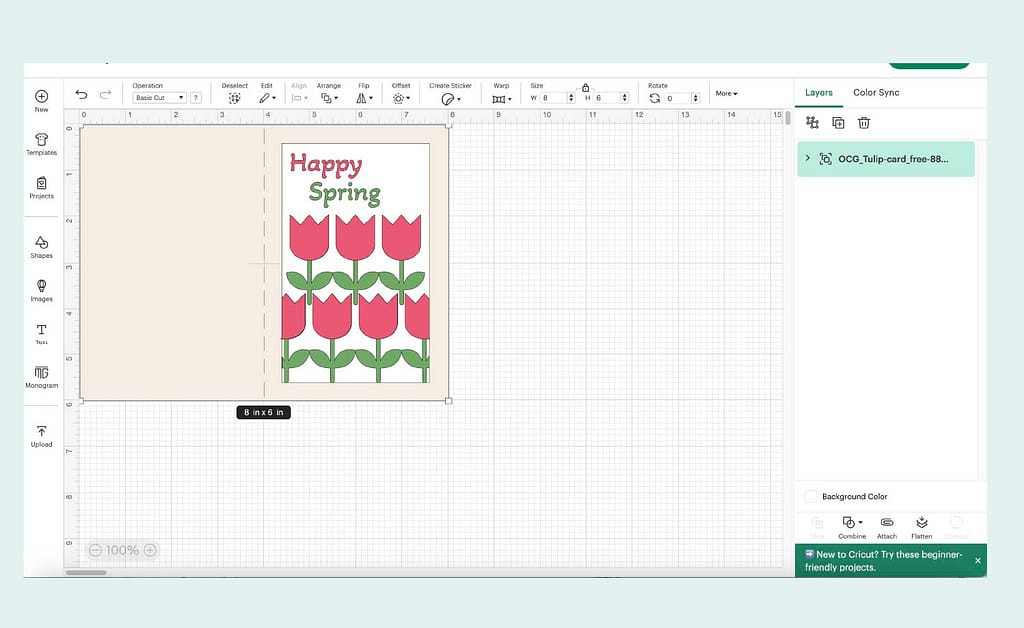
Step 3: Resize and Prepare Your Cricut SVG Design
Once your SVG is on the canvas, resize or edit it to fit your project perfectly. The card file that I am using to demonstrate is 4″ x 6″ if you want to make it a different size.
- Use the corner handles to scale.
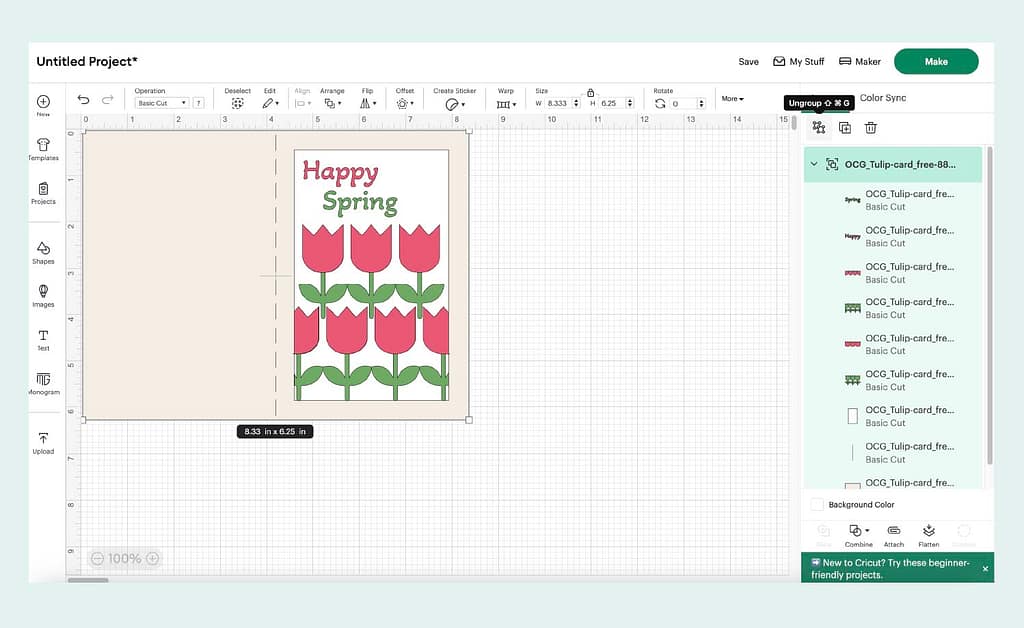
- If layered, ungroup to separate colors or elements.
- Change colors in the layers panel to match your vinyl, paper, or fabric.
Step 4: Cut and Create!
Finally, you’re ready to cut:
- Click Make It.
- Change material size if needed.
- Place your material on the Cricut mat.
- Connect to your machine and select the material.
- Load the mat into your machine.
- Follow the on-screen prompts to cut each layer.
- Weed, assemble, and admire your finished project.
With practice, this workflow will feel second nature.
Final Thoughts
In conclusion, knowing how to use SVG files in Cricut Design Space gives you endless creative opportunities. From resizing to layering, every step helps you transform a digital design into something handmade and personal. The more SVGs you try, the more confident you’ll feel. So, start experimenting, keep creating, and watch your Cricut projects come to life in new ways!
Want to practice? Sign up for my newsletter and grab the password to my Freebie Library, where you’ll find SVGs ready to use in your next project. If you’re looking for something a bit different, check out my Etsy Shop here.